Digital Photography and Imaging / Project 1: COLLAGE & DIGITAL IMAGING [20%]
23/09/2024 - 21/10/2024 Week1 - Week6
ID name YANG HANWEN
ID number 0364085
Program name bachelor of design (honors) in creative media
Project 1: COLLAGE & DIGITAL IMAGING [20%]
- Create my E-Portfolio blog:YANG HANWEN 0364085
- Register Pinterest
My Pinterest Page:https://pin.it/4Y5k7OQoT - My top 3 favorite graphic design pieces from Pinterest :
- Inn Architecture Art -Genshin Impact Art Gallery
Description: When l first saw this picture l liked it very much because…
This Poster expressed :
View an image titled 'inn Architecture Art' in our Genshin impact art gallery featuring official character designs, concept art, and promo pictures.This combines the Liyue elements from the Genshin game and the idea of a spaceship,making her more like a work of art.
- Paris 2024 Olympics by Arnau Moreno Gallego
Description: When I first saw this poster, I was impressed by the illustration, which also expresses the message.
This Poster expressed :
This illustration features the Eiffel Tower with large, colorful rings stacked on top, adding a playful, modern twist. Each ring stands out against the iron structure in vibrant colors.
This artwork reimagines the Eiffel Tower as a symbol of unity and global harmony, with the rings representing diversity and inclusivity in the heart of Paris.
- The Sushi Training of the Salmon Warriors
Description: The first time I saw this poster, I was struck by the illustration, which effectively conveys its message.
This Poster expressed :
This illustration playfully combines samurai culture with sushi-making, depicting salmon warriors training in a dojo. It symbolizes dedication, skill, and respect for tradition while adding humor and imagination to Japanese culture.
- Submission:
- Task:
1. Choose and identify your collage's design elements to be cut out and compose it into your own concept & story.
2. Pre compositing your collage's design elements into a composition.
- Process:

- PRE-COMPOSITION #1My own concept & story:This collage can be combined into a concept of future competition, with Messi as theprotagonist, using enhanced foods to maintain top performance on the field. Lay'spotato chips provide instant bursts of power, chocolate wafers enhance endurance, andmint qum improves concentration. Messi meets the challenges of the world's topplayers through these technological foods and continues to dominate the arena.
- PRE-COMPOSITION #2
My own concept & story:
In the future, green tea, honey and pear are combined into a rejuvenating health drink.This drink helps humans resist environmental changes, symbolizes the combination otnature and technology, and is a symbol of health in the future society. - PRE-COMPOSITION #3
My own concept & story:
In the future city,7-Eleven becomes the center for athletes to get energy. Theprotagonist survives through competition, relying on natural forces (such as sunflowersand technological props. The cartoon bear symbolizes pure technology and helpspeople cope with challenges.
- Submission:
- Task:
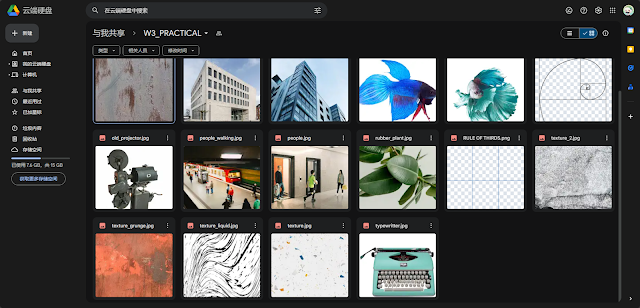
- Download all of the images here to your computer:
https://drive.google.com/drive/folders/1cGcbENrjSksAaMQK9np2jb6ZaM7Y-81l?usp=sharing - Follow this tutorial demo as reference to create your digital collage:
https://youtu.be/BlW7F-fTsbE - Create 3 different composition digital collages from the images that you’ve downloaded.
- Create A4 canvas size (vertical) on Photoshop and start to do the compositions.
- Take 3 photo of your digital collage compositions and insert it on the section below.
- Submit (Turn In) this file on Google Classroom.
- Process:
- Task:
- Process:
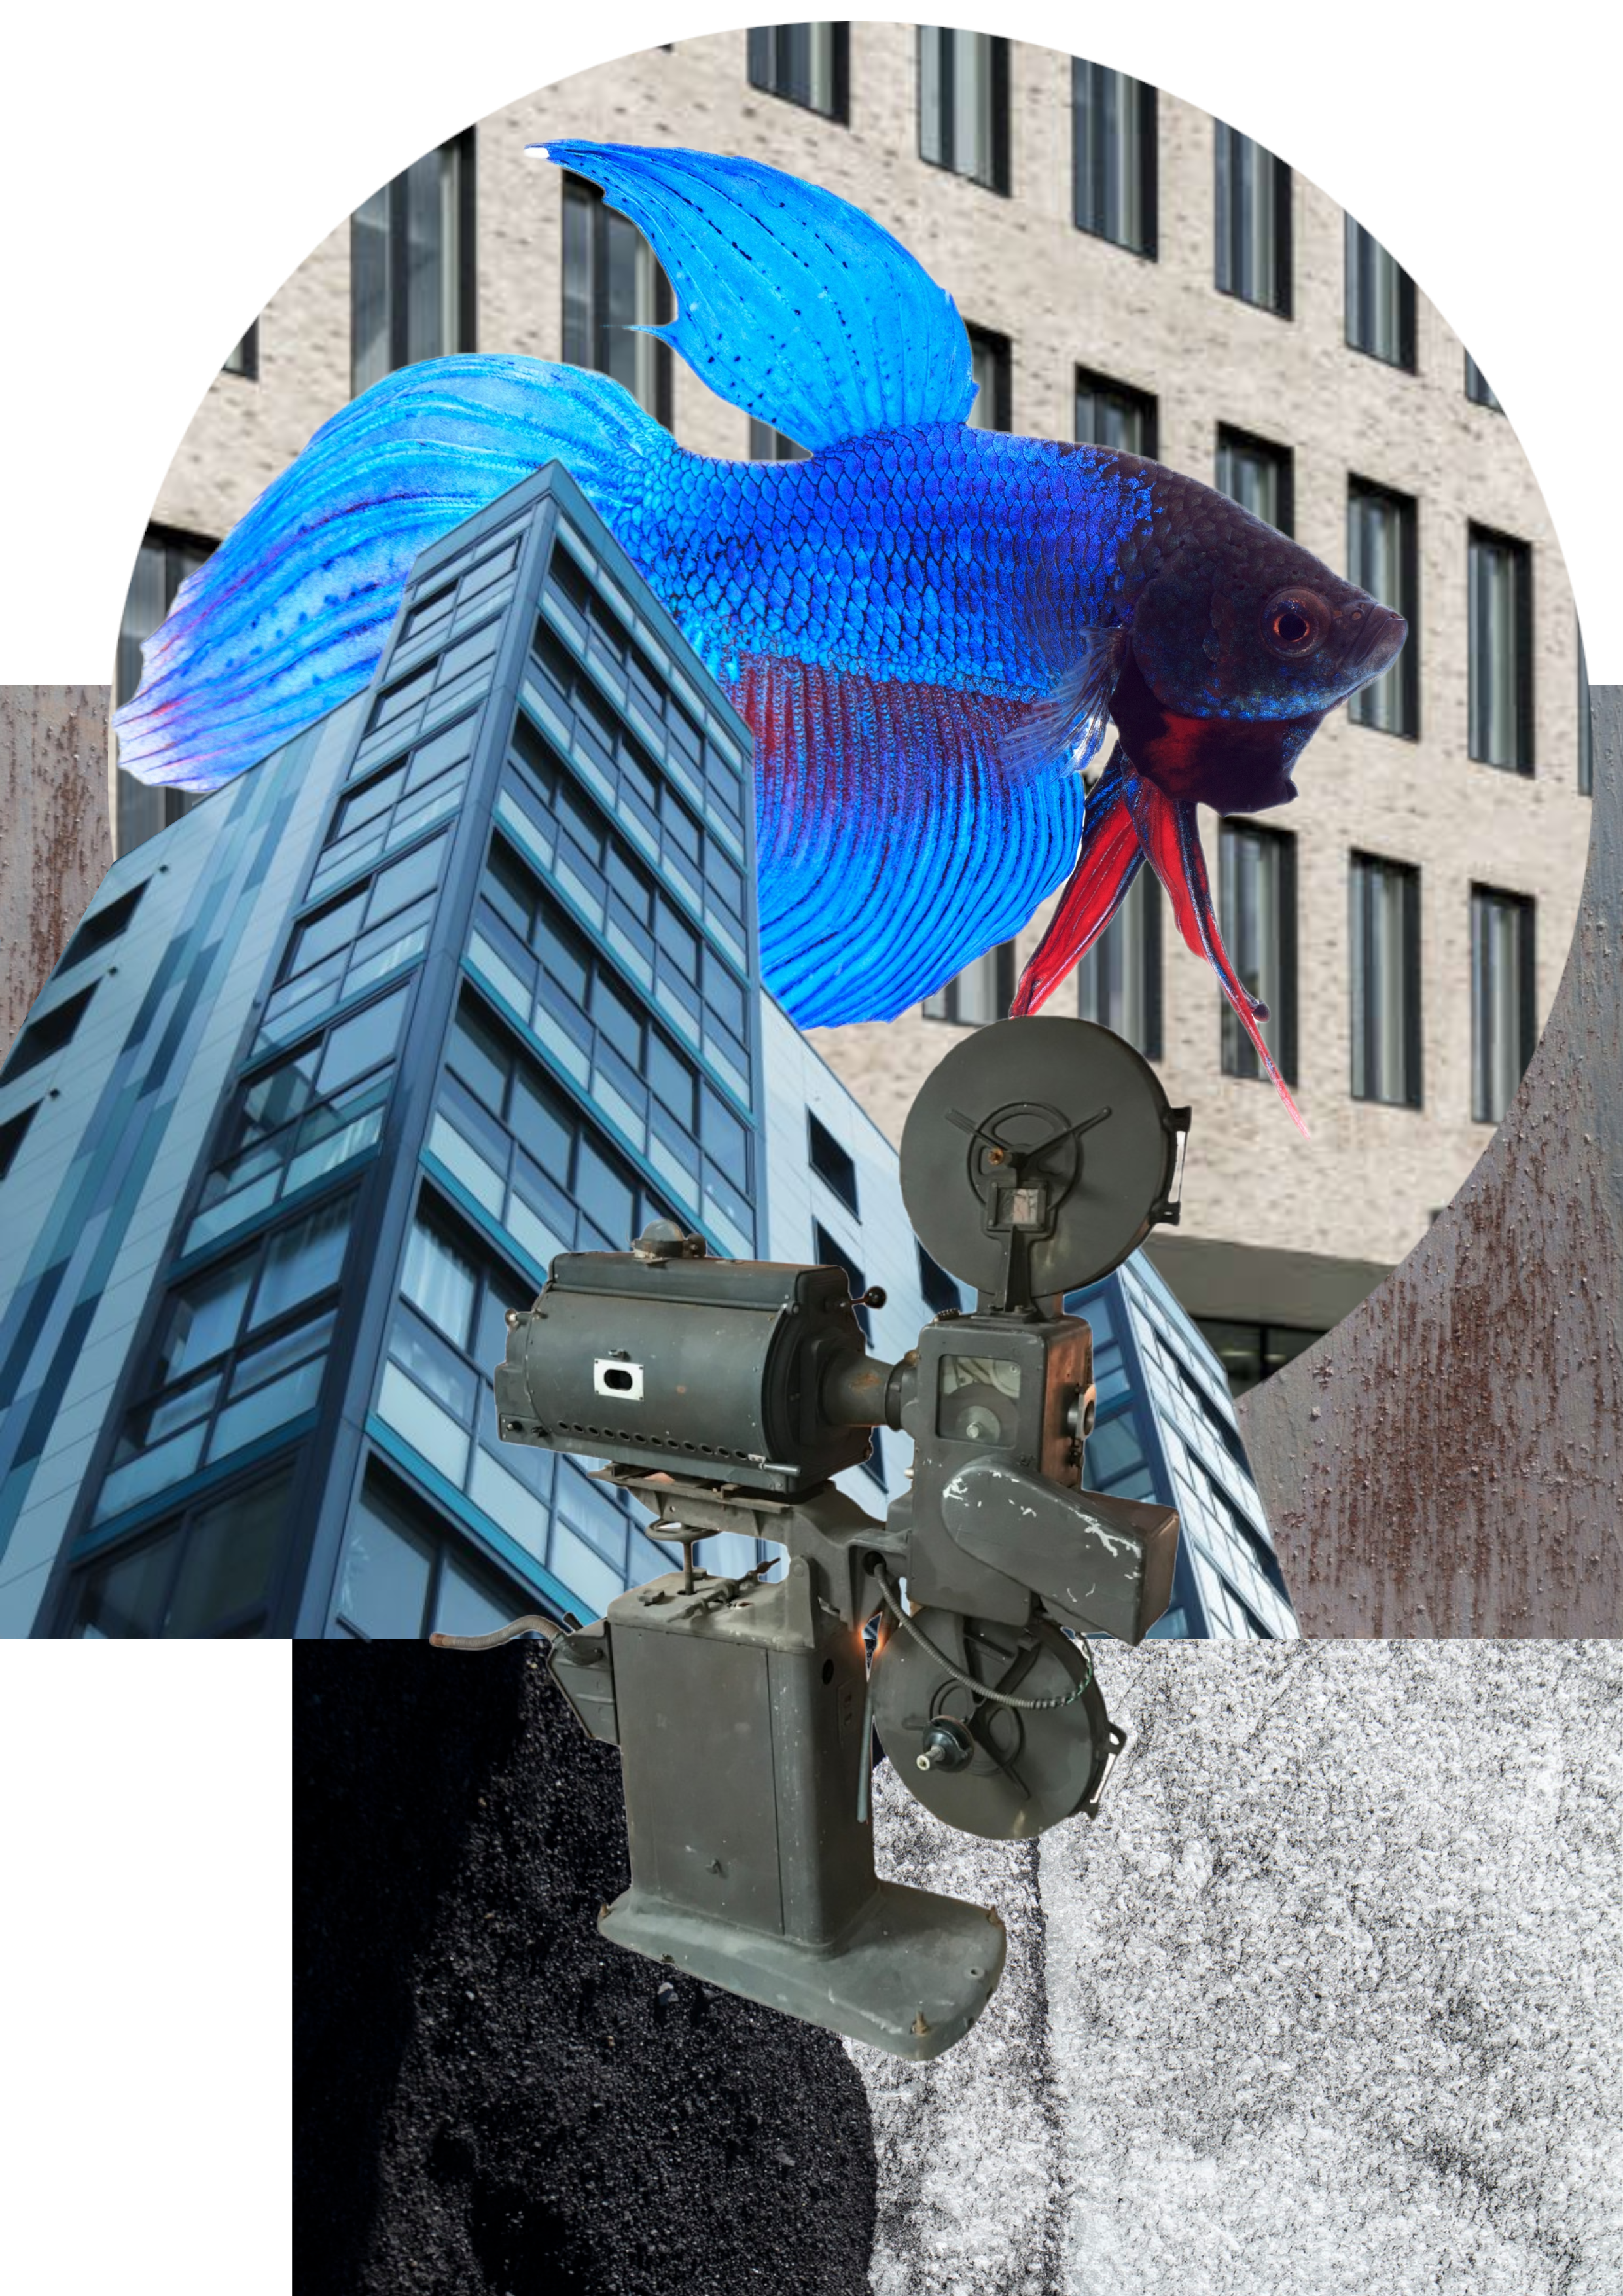
- WEEK 3 -PEN TOOLEXERCISE(BEST COMPOSITION)
DESCRIPTION:
I used the color balance tool and layer mask to test the effect on the top of all layers. It was a small test of my skills.
- WEEK 4 (ADJUSTMENT LAYERS & FILTERS )
DESCRIPTION:
For this, I first added a level effect. In this effect, I adjusted the preset to "Dark Midtones" and adjusted the middle value to "0.75". Leave the rest unchanged, then enabled the layer mask and applied shadows on it, and then added the color level. I added a Hue/Saturation effect to the layer. The Hue is 0, the Saturation is "-14", and the Lightness is "-21". The default custom range is the whole image. Then I enable the layer mask and apply a shadow underneath. Then I add the previous two effects. I added a photo filter, the filter is Sepia, the color is "#ac7a33", the density is 75% while retaining the brightness. Finally, I added a curve effect on all layers and set the parameters as follows ↓ This is what I exported after the picture.

- Submission:
- Task:
PROJECT 1B: DIGITAL IMAGING EXERCISE (10%)
1. PROJECT 1B - PART 1: Hearst Mansion
- Follow instructions from the W5_HEARST MANSION:
https://bit.ly/3CsxWyK
SUBMISSION ON E-PORTFOLIO
Attach your Week 5 E-Portfolio link on this submission.
Good work by Lim Jia Yu. Please refer to this submission sample on E-Portfolio:
https://limjiayu920.blogspot.com/2024/10/week-5-21-october-2024.html - Process:
Digital Photography and lmaging / Week 5 - Submission:
- Task:
1. PROJECT 1B - PART 2: Recoloring Black and White- Follow instructions from the W6_RECOLORING BREAKDOWN:
EXERCISE 1:https://bit.ly/3dXGYu8
EXERCISE 2:https://bit.ly/3rpZvCp
Attach your Week 6 E-Portfolio link on this submission. - Follow instructions from the W6_RECOLORING BREAKDOWN:
- Process:
Digital Photography and Imaging / Week 6 - Submission:https://yanghanwendesign.blogspot.com/2024/10/digital-photography-and-imaging-week-6.html
EXERCISE 1
EXERCISE 2


Comments
Post a Comment